DIY Photo Album
A few months ago I participated in a Bridal show and wanted to show all the types of photography that I do. Particularly, family sessions. Because of time constraints, I decided to make my own albums. I took photos during the process to share with you how easy it is to make your own photo albums!
Materials you will need:
Ruler
Gluestick or photo spray adhesive
Two posts (I've seen it done with ribbon or twine as well)
Pencil
Knife or boning tool
Hole puncher
Cardstock
Cover material
The instructions are below the photos :).


Step 1:
Measure from the edge about 1"- 1.75" for the crease to allow the pages to turn without any problems. Make a line. Measure again another 1/4" out and draw another line. Check out the photo where I'm hole punching and you can see two creases.
Step 2:
Once you measure the page, use your ruler and the blunt side of a butter knife. I don't have a boning knife so I used a regular butter knife. Works just as well! This will make the dent for the crease. Do this for the next line that is 1/4" away from the first line. This creates two creases like in the photo of the hole punch. As you add more pages, the second crease will help with folding in the later pages.
Step 3:
Fold where you made the creases to really help it crease. This will help the pages turn easier. Do this to all of the pages, my album is 20 pages so I did it to each page.
Step 4:
Measure from the edge to make the holes for the posts. It's important to make sure they are in between the edge and the creases. Don't get to close to the edge so that with use, the pages don't tear where the hole punch is. I halved the width and halved it again to where I put the holes. Using a single hole puncher, punch the two holes for the posts.
Use the first page you punch as a guide to help with the rest of the pages so all the holes line up perfectly.
Step 5:
After steps 1-4, paste the photos on the pages. Make sure you don't cover the creases. My photos are a bit smaller so the pages created a pretty border. I like this look better than flushed and helped with not allowing the photos to lift up when turning the pages.
Step 6:
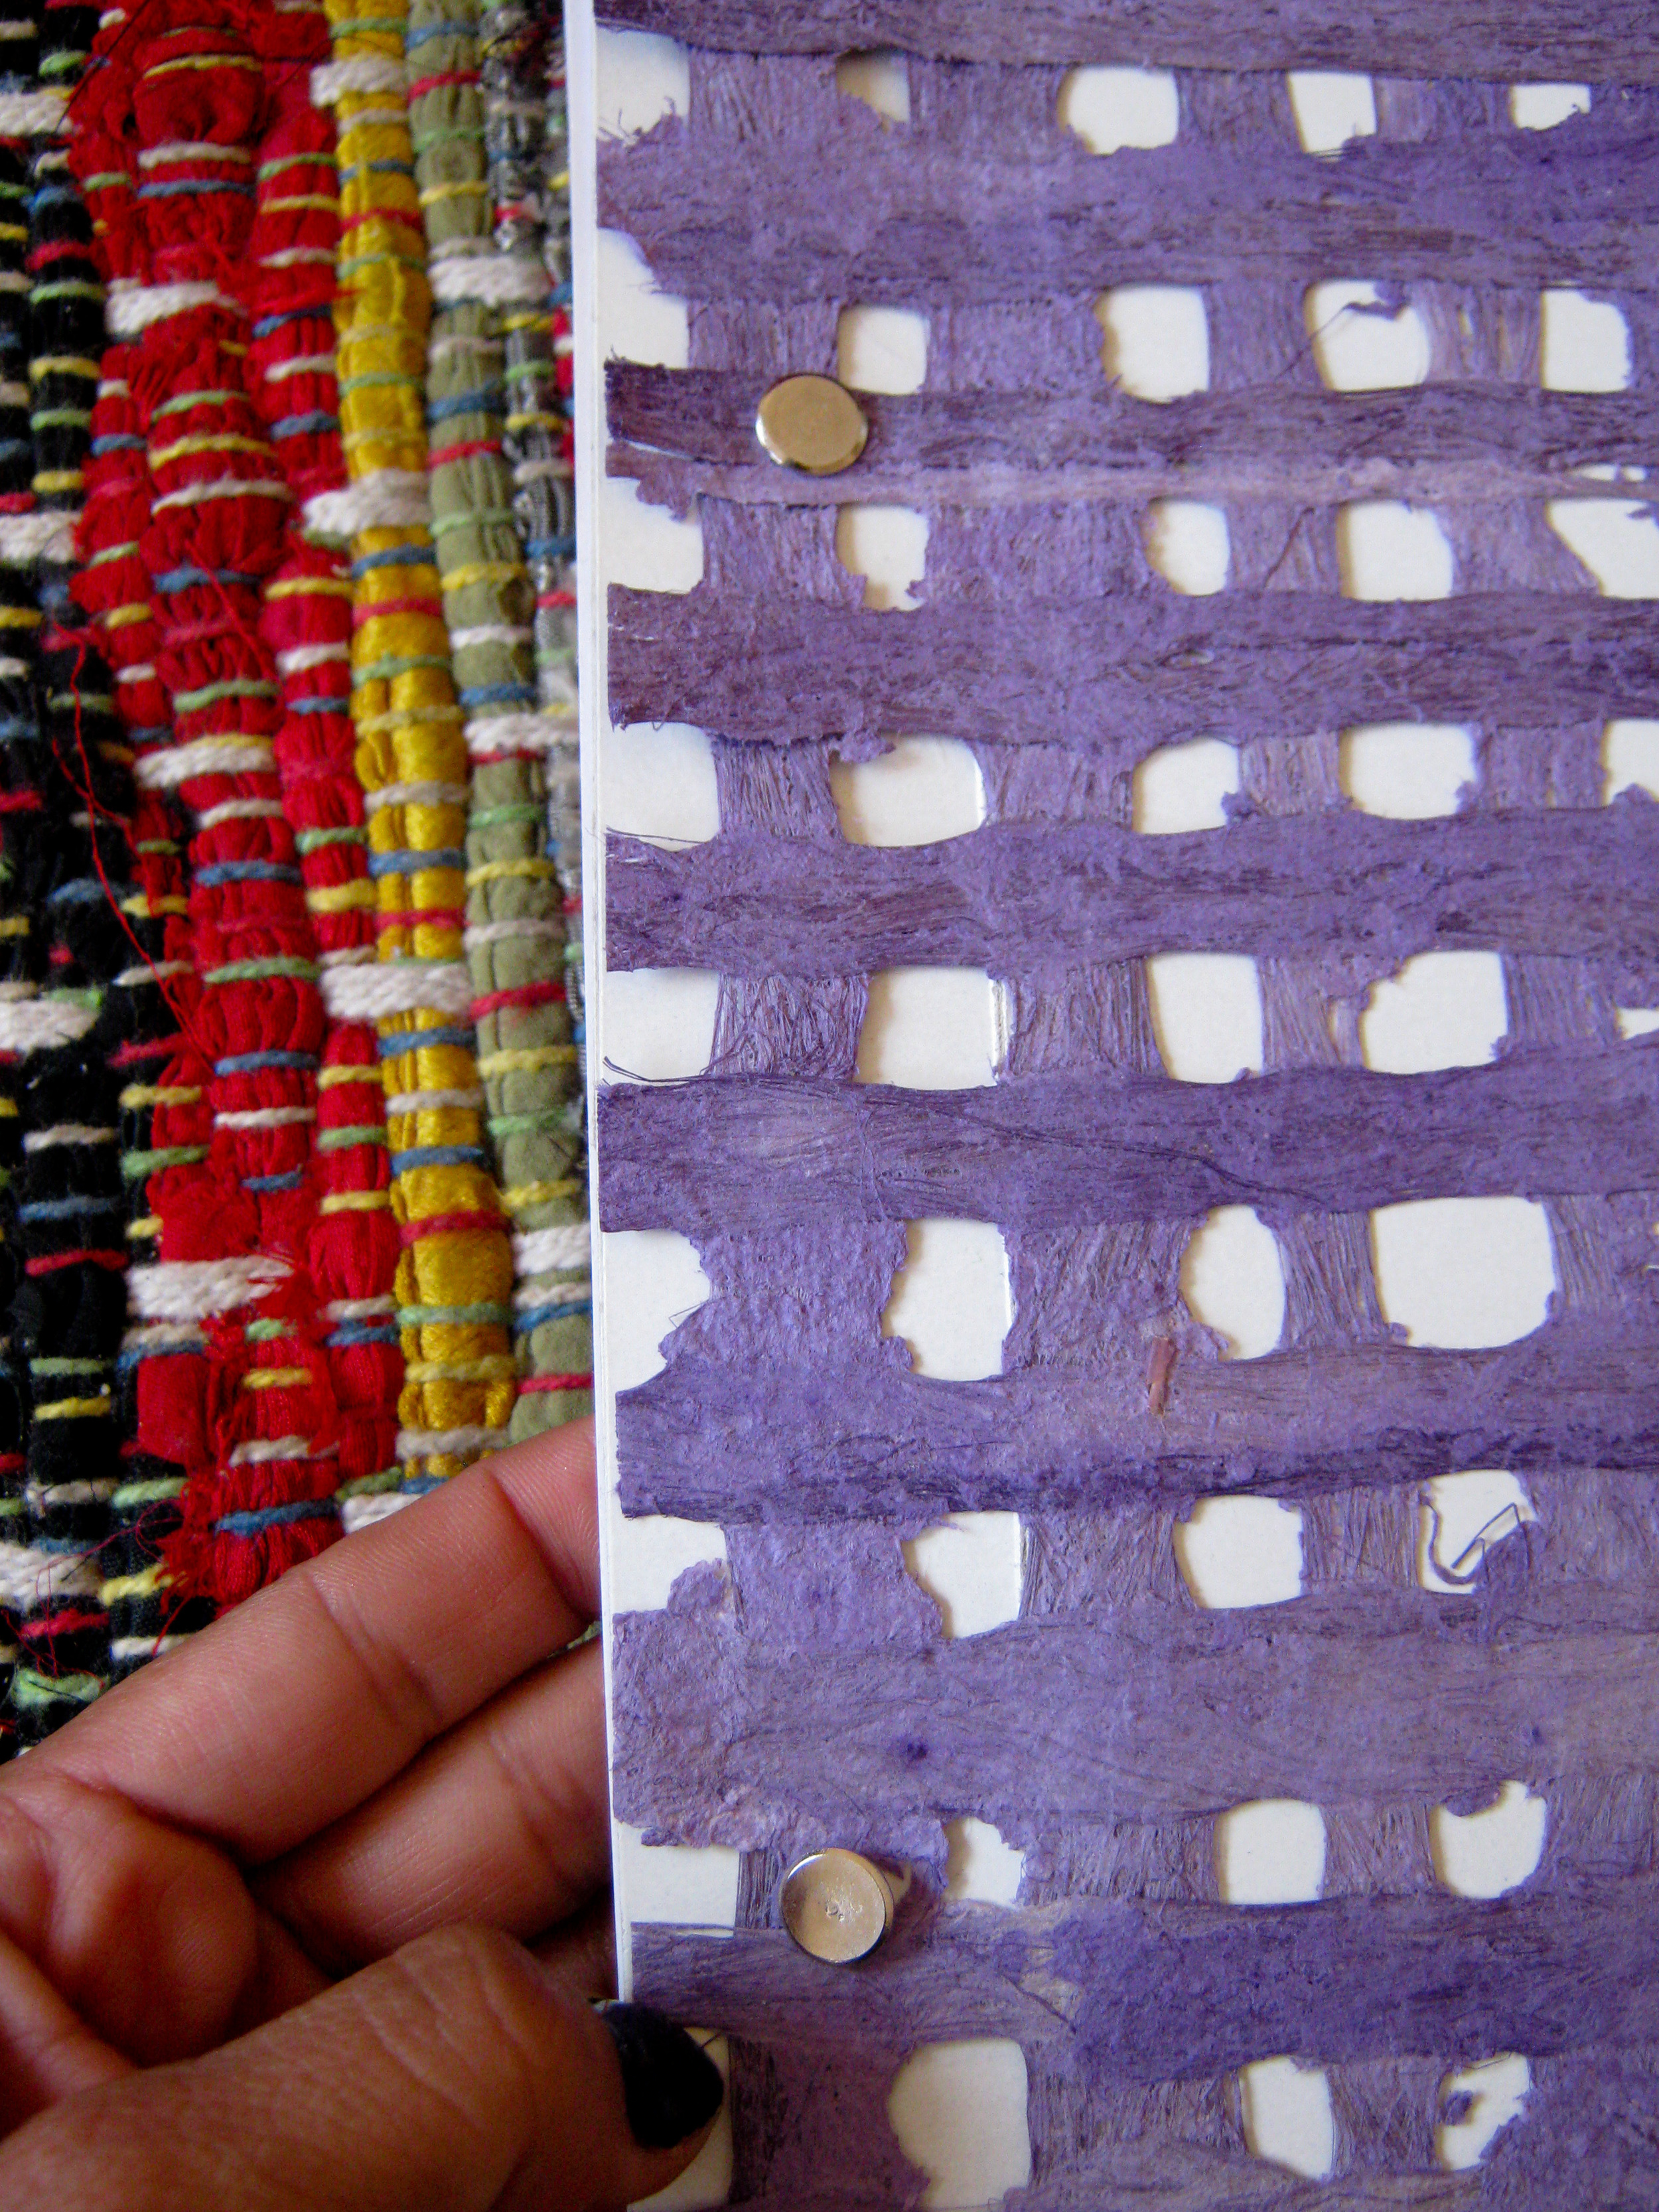
To make the cover, use any material you want. I used the same cardstock paper and added a nice fabric type of paper to the cardstock. I did steps 1-4 as well to make sure it turns easily and the holes are in the correct place.
Step 7:
Put in the posts. These posts are small given the size of the album but you can add pages and take away as well as add taller posts. It's all about preference :). Stack the pages and put the posts in to finish it off.
And viola! You have a pretty, personalized, photo album to showcase your portfolio, family photos, trips, or anything you like :). I've also seen other albums where you can make the photos smaller and write on the cardstock. I plan to do that for my vacation albums!
Happy album making!


